



Today, contouring is more accessible than ever. Once thought of as an advanced technique reserved for the pros, now is used by everyday makeup wearers across all skill levels. Contouring is the art of playing with light and shadow—using cool-toned shades to create depth and lighter shades to bring features forward.
In this how-to guide, Lancôme’s National Makeup Artist & Educator, Jasmine Ferreira teaches you how to contour to master application placements that achieve these three beautifully defined, sculpted looks:
1. Instant Natural Lift
2. Soft Natural Shaping
3. Bold and Sculpted
How to Prep for Contour Application
Before you get to sculpting, first you’re going to prep your base and select the right contour shades for your skin tone.
Skincare First
Hydrated skin is the secret to seamless blending. Let your moisturizer fully absorb before applying makeup.
Choose Your Base
You can apply contour directly to prepped skin or over your makeup base. For more sculpted looks, it’s helpful to contour on top of a unified makeup base, so you know exactly where shadows naturally fall.
Find Your Contour Shades
This is where contouring often falls flat. Remember: bronzer warms up the skin; contour creates a shadow. To mimic a real shadow, choose a shade two to three shades deeper than your skin tone with a cool or neutral undertone. Keep the warm, golden-toned bronzers for adding a sun-kissed glow later! For shade match assistance, we’re here to help. Book your personalized virtual consultation with a Lancôme Expert Beauty Advisor and get matched in minutes.
Learn More: The Difference Between Bronzer vs Contour
Contour Makeup Essentials from Lancôme
Bring these contour looks to life with Lancôme’s Teint Idole Shape Sticks. These blurring and creamy multi-use complexion sticks can be used as foundation, concealer, contour, and bronzer. Choose cool or neutral tones to sculpt and lift and warm tones for bronzing. Pair with Teint Idole Shape Stick Blush for a touch of radiant color and added dimension.


Teint Idole Shape Stick
Blurring & Hydrating Multi-use Complexion Stick
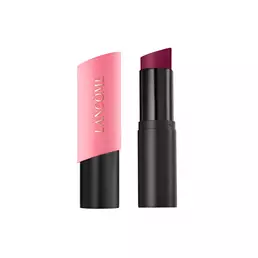


Teint Idole Shape Stick Blush
Creamy Blush Stick
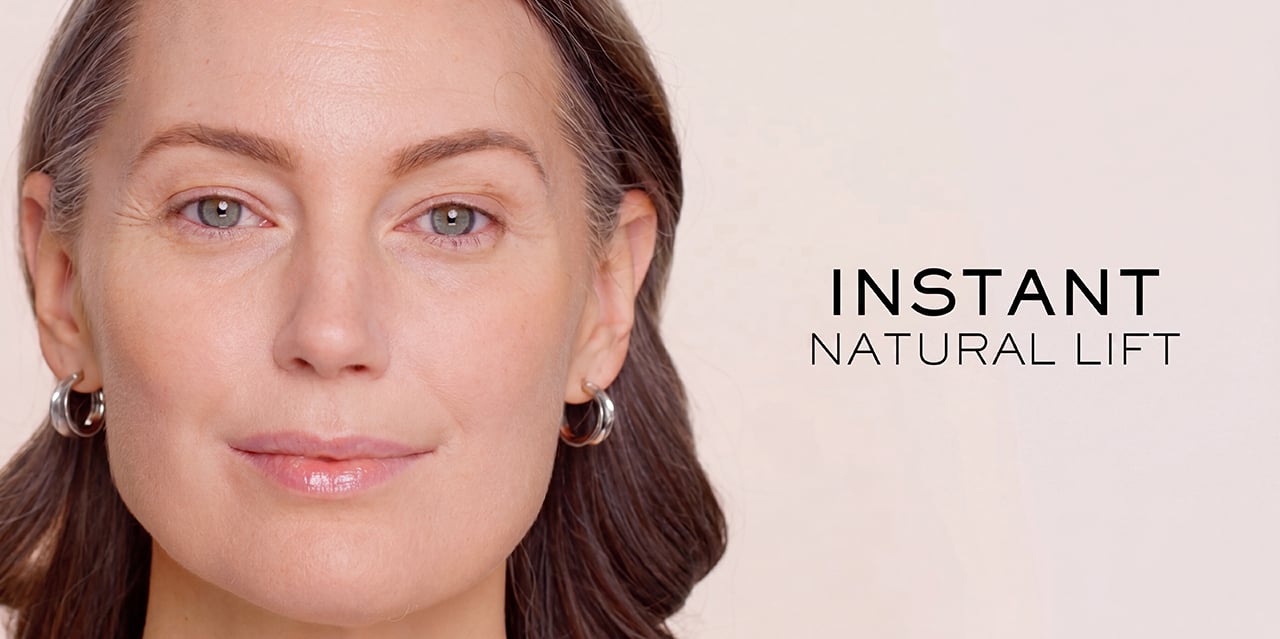
Look 1: Instant Natural Lift
Youthful looking, awakened, and visually lifted. This is the perfect technique for everyday wear or a quick morning routine when you want to look instantly refreshed.
Best for
• round and oval face shapes
• mature skin or those wanting an anti-aging lift effect
• anyone short on time—this look can be done in less than 5 minutes!
Contour Placement & Application
Instead of following the traditional method of placing contour in the hollows of your cheeks, you are going to place it higher. Swipe your contour directly onto the upper edge of the cheekbones. Keep the product away from the center of your face—as a guide, don’t go much further than the outer corner of your eye. Then, apply an upward flick of contour just above your temples, towards your hairline.
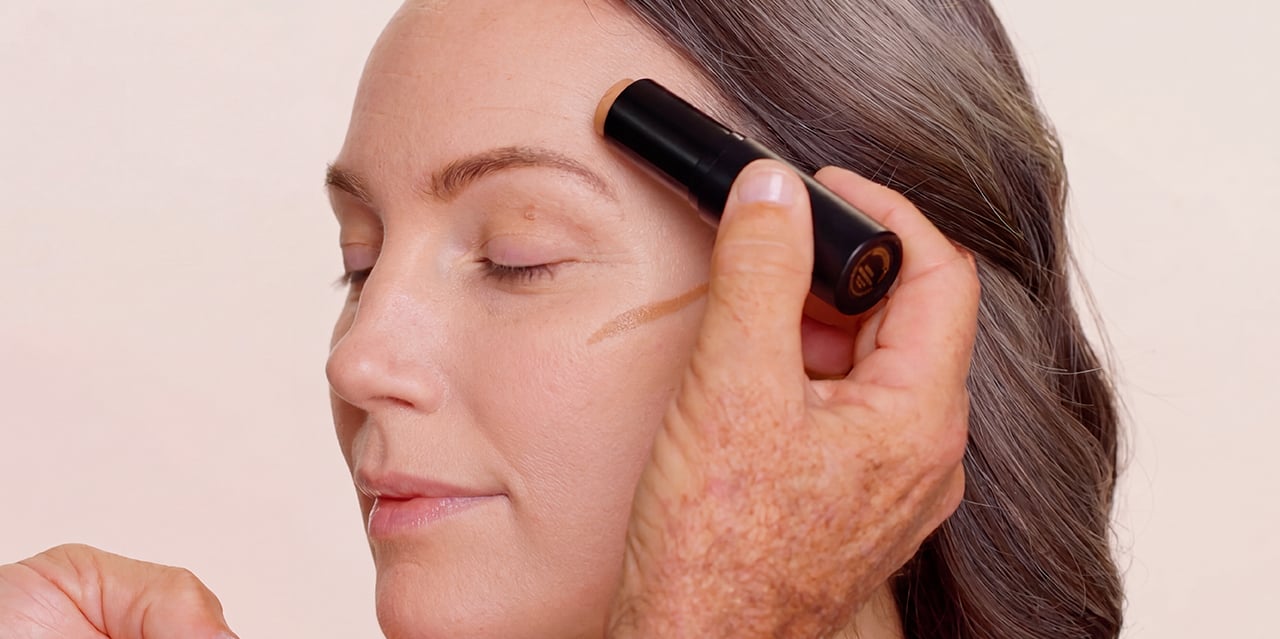
Next, grab a highlighting contour or concealer shade one to two shades lighter than your natural skin tone. Apply an upward flick at the outer corners of your eyes, corners of your mouth, and slightly above your contour placement above the temples.
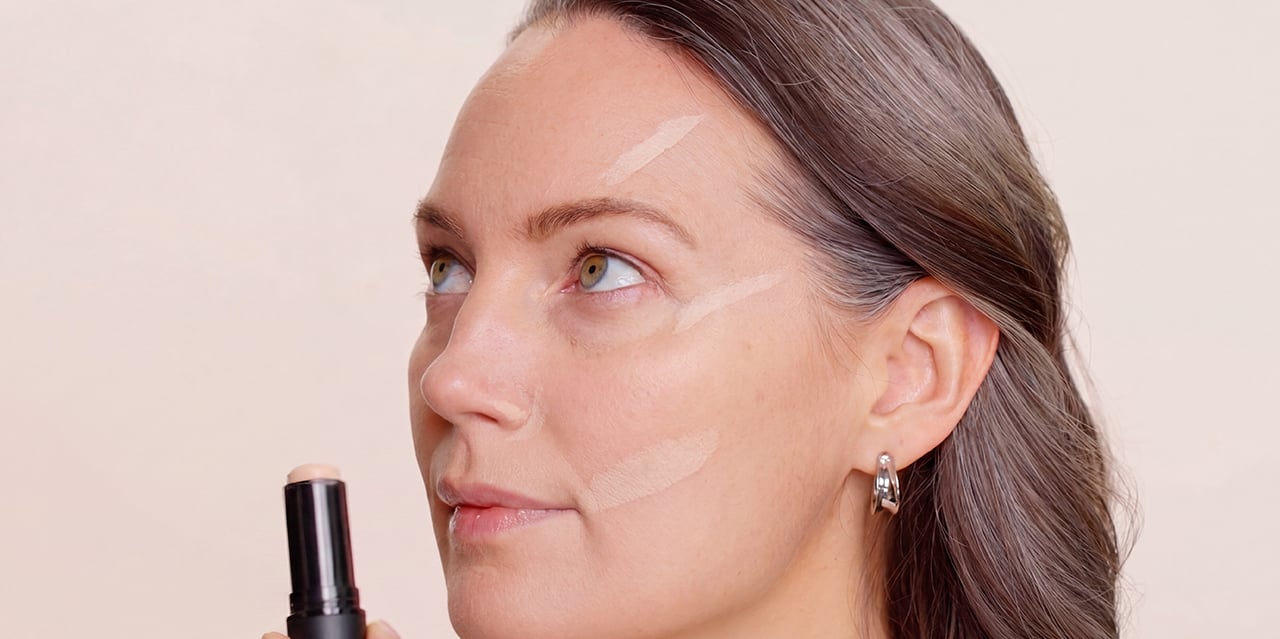
Using your fingers or blending brush, blend the product upwards and outwards toward your hairline to enhance the lifted effect.
Look 2: Soft Natural Shaping
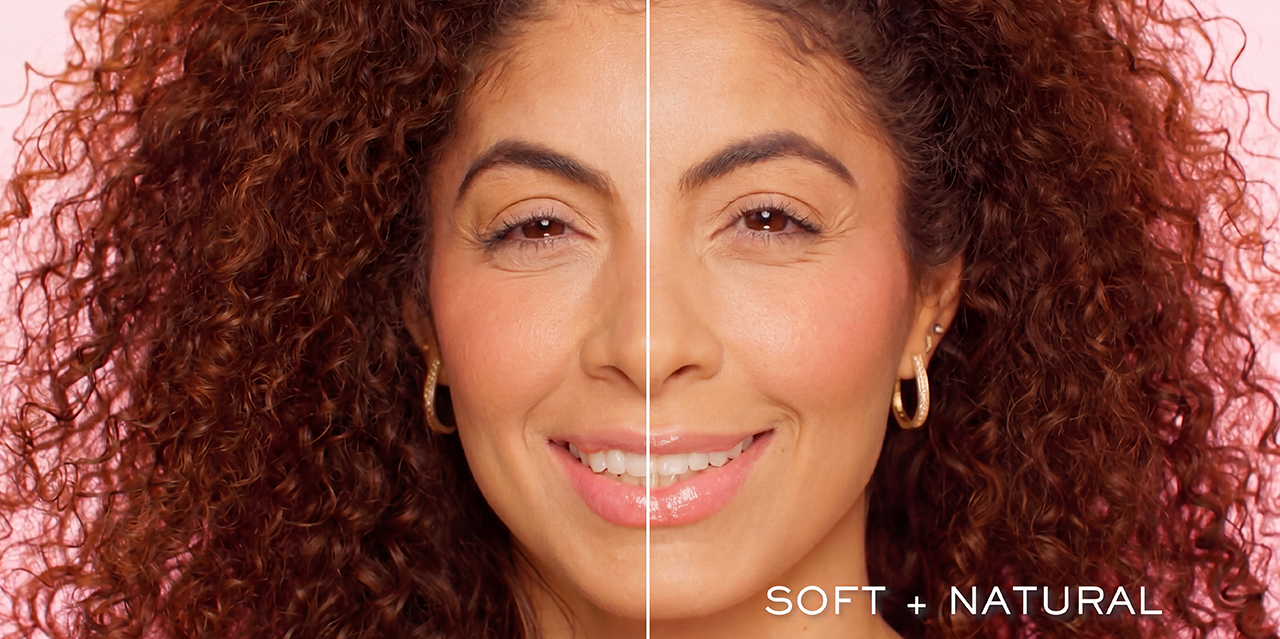
Subtle, elegant definition that enhances your natural bone structure without looking obvious. This is the ultimate clean girl or no-makeup makeup contour.
Best for
• diamond, square, and heart-shaped faces
• those with naturally prominent bone structure
• contour beginners—this application is incredibly forgiving.
Contour Placement & Application
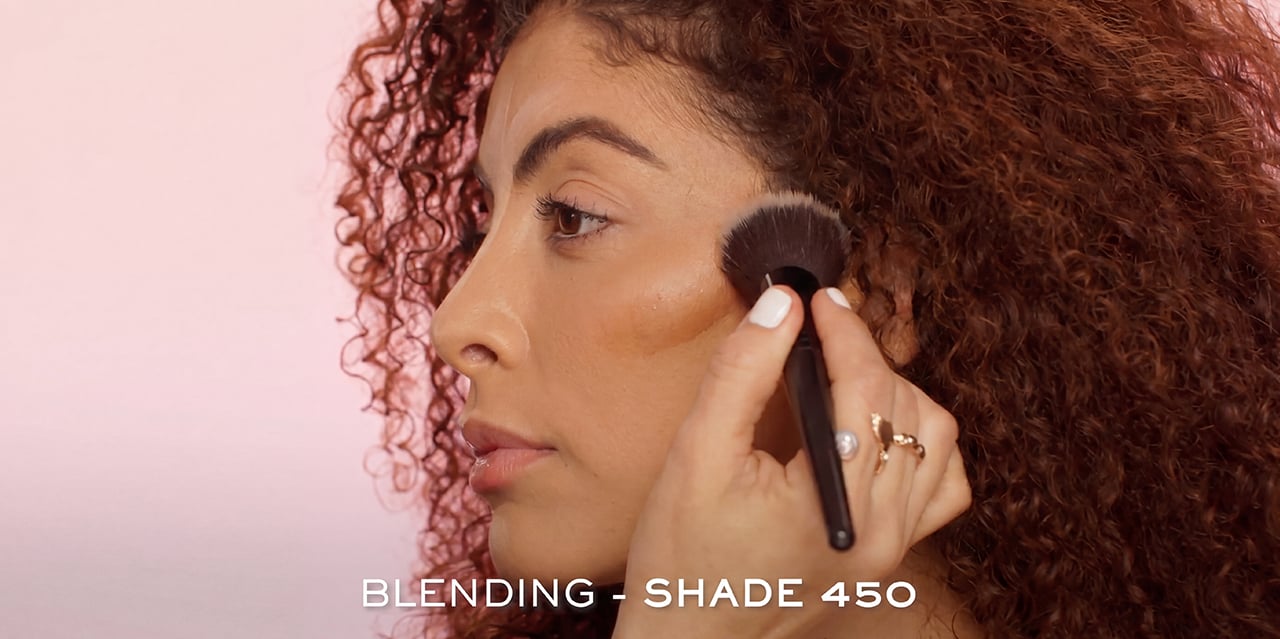
Apply contour slightly above the natural hollows of your cheeks (suck in your cheeks to find this spot!). Build up the intensity as desired.
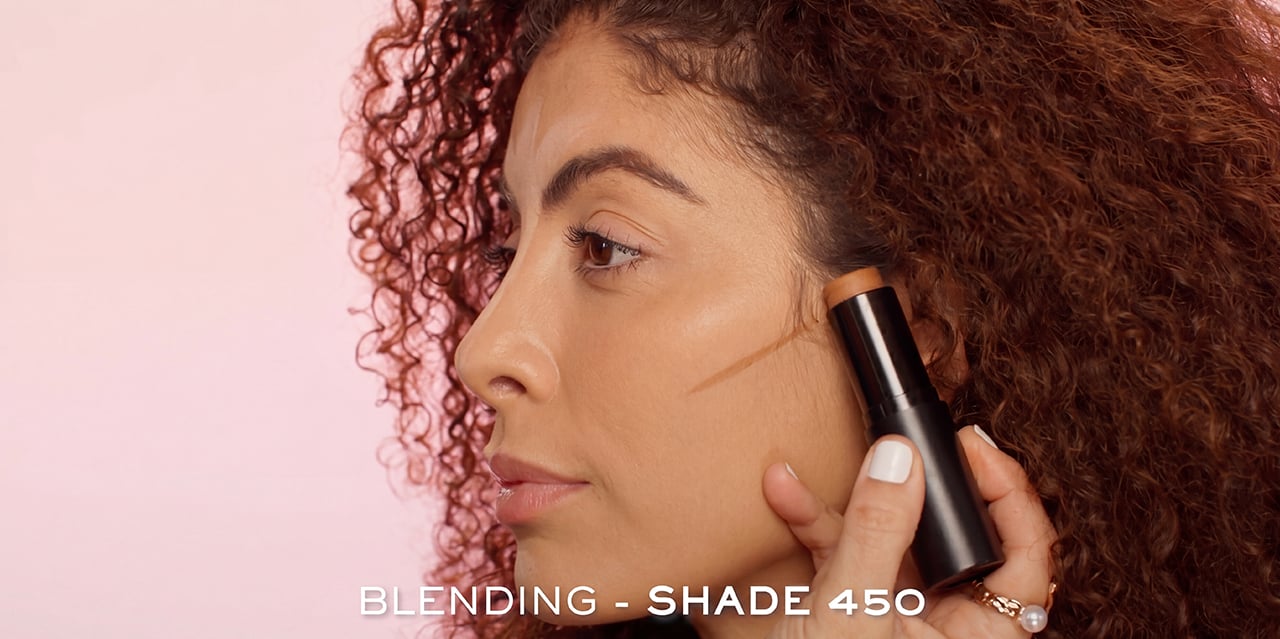
Use a fluffy brush to ensure a diffused application with no harsh lines. For soft natural shaping, less is more. Start with a tiny amount of product diffused off the brush—you can always build it up, but it is much harder to remove.
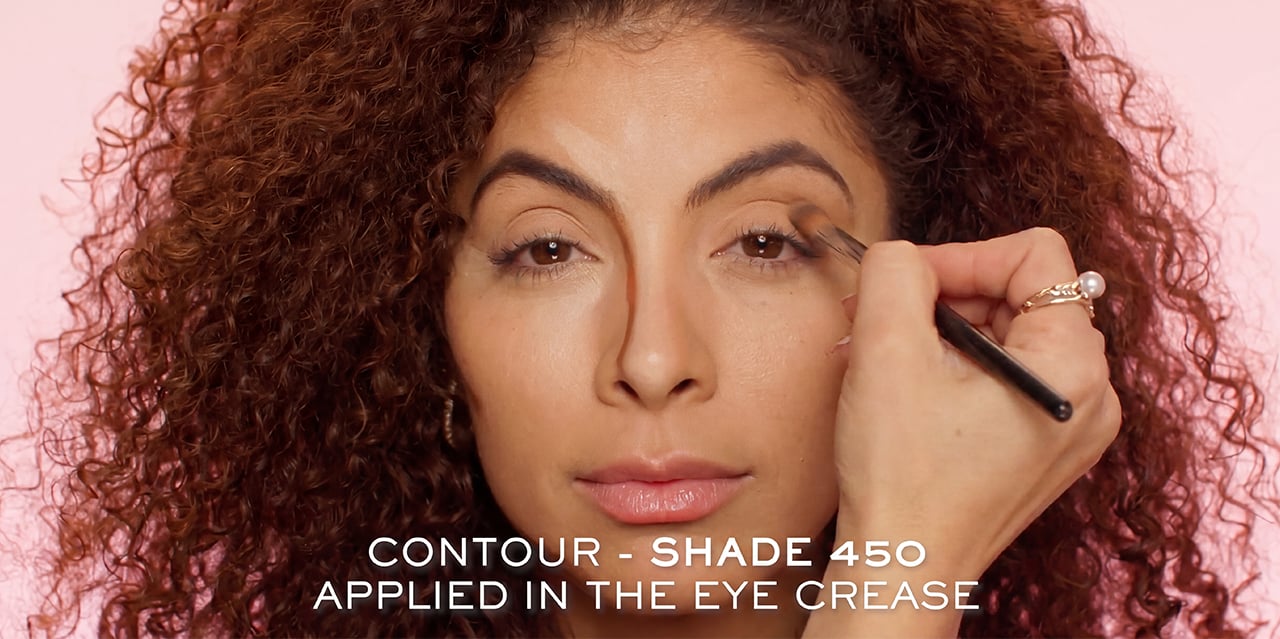
Sweep the remaining contour product on your brush into the eye crease to help shape the eyes.
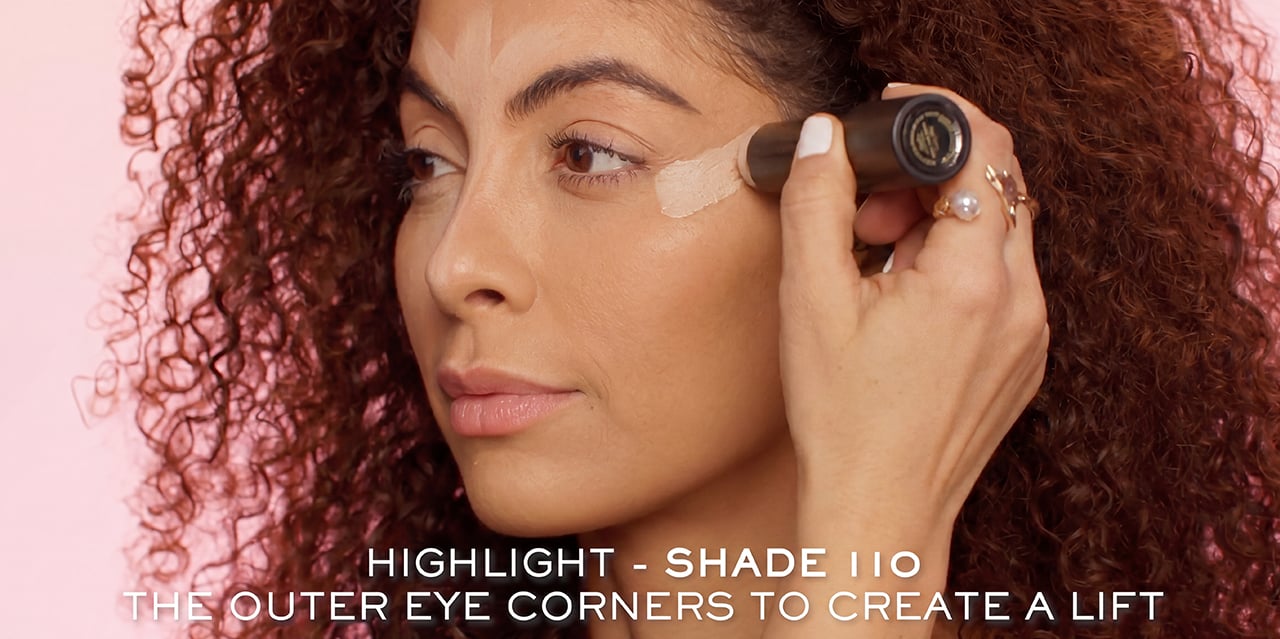
Take your highlighting contour or concealer in one to two shades lighter than your natural skin tone and apply it to the outer corners of the eyes, under the eyes, and high points of the face (tip of nose, center of forehead) to bring these features forward.
For a pop of color, follow with a creamy blush placed just above the contour on your cheeks. Adding a touch of blush helps transition your cool-toned shadow into a natural flush, mimicking a healthy-looking, radiant glow.
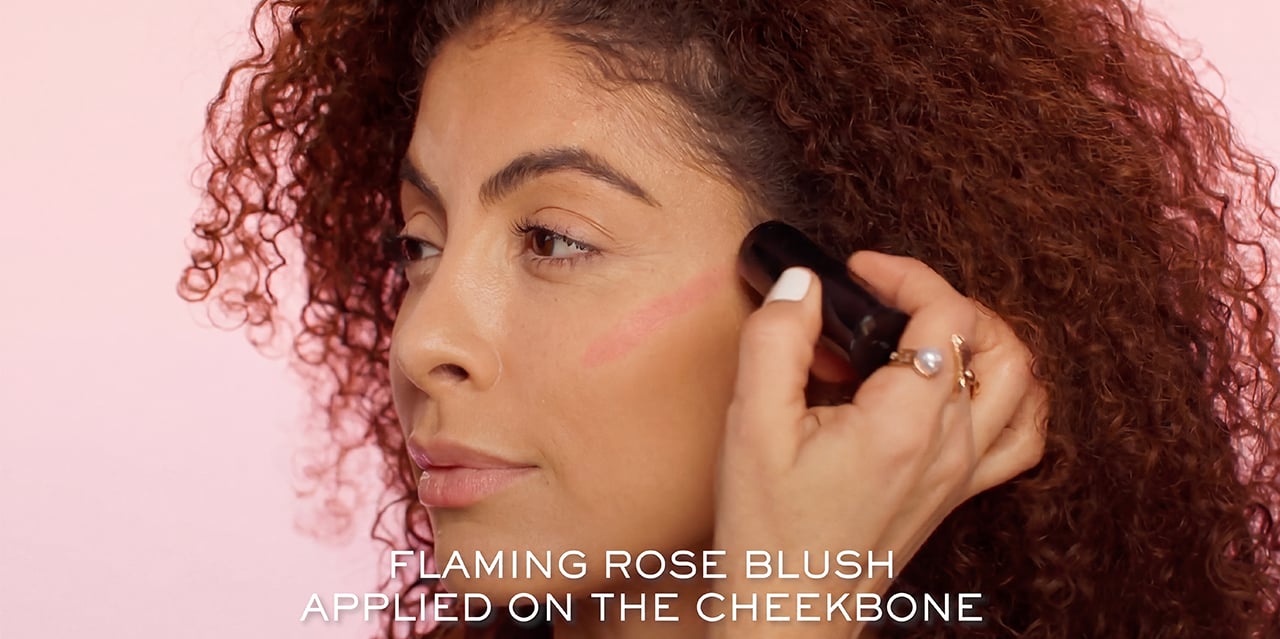
Blend your highlights with fingers or an angled fluffy brush, softly melting the product for a natural, skin-like finish. Buff out your creamy blush with a fluffy brush, blending up and out for a smooth, seamless blend.
Look 3: Bold and Sculpted
Dramatic, defined, and glamorous. This is your go-to contour for special occasions, evening events, when you need to be photo-ready, or those days when you want a soft-glam finish.
Best for
• those who want to reshape facial features
• special events and photography
• redefining a softened jawline or sagging jowls
• oily skin
Contour Placement & Application
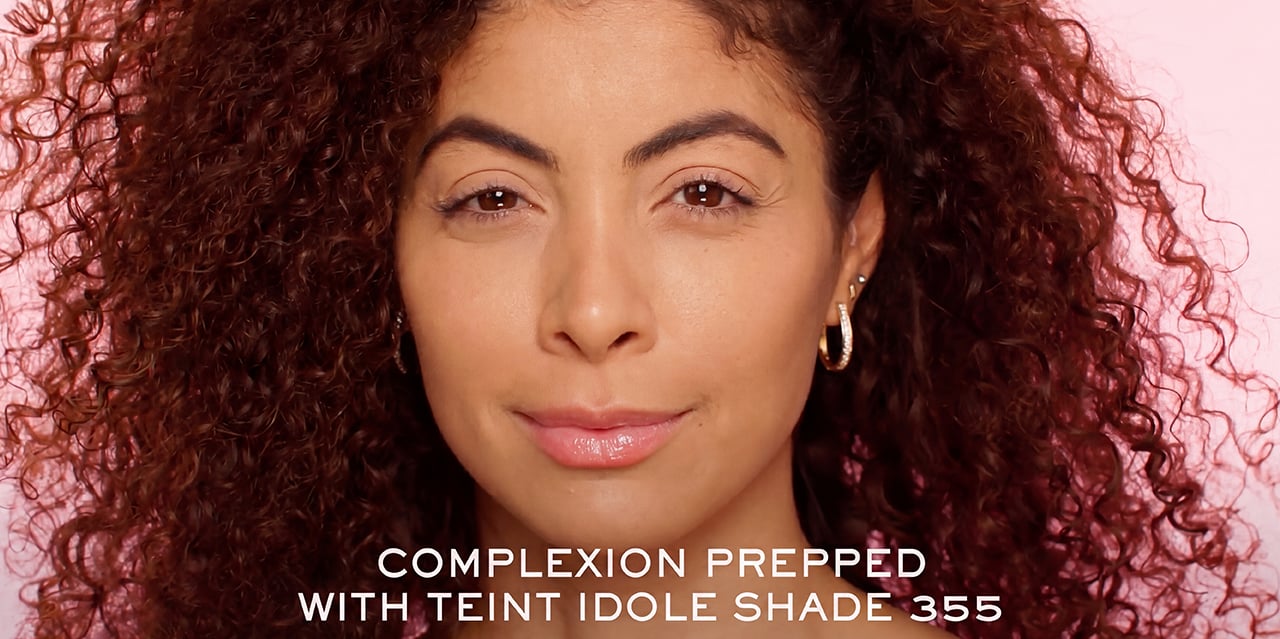
For a bold and sculpted look, prep using your usual foundation and concealer. This contour look is best applied on top of your makeup base.
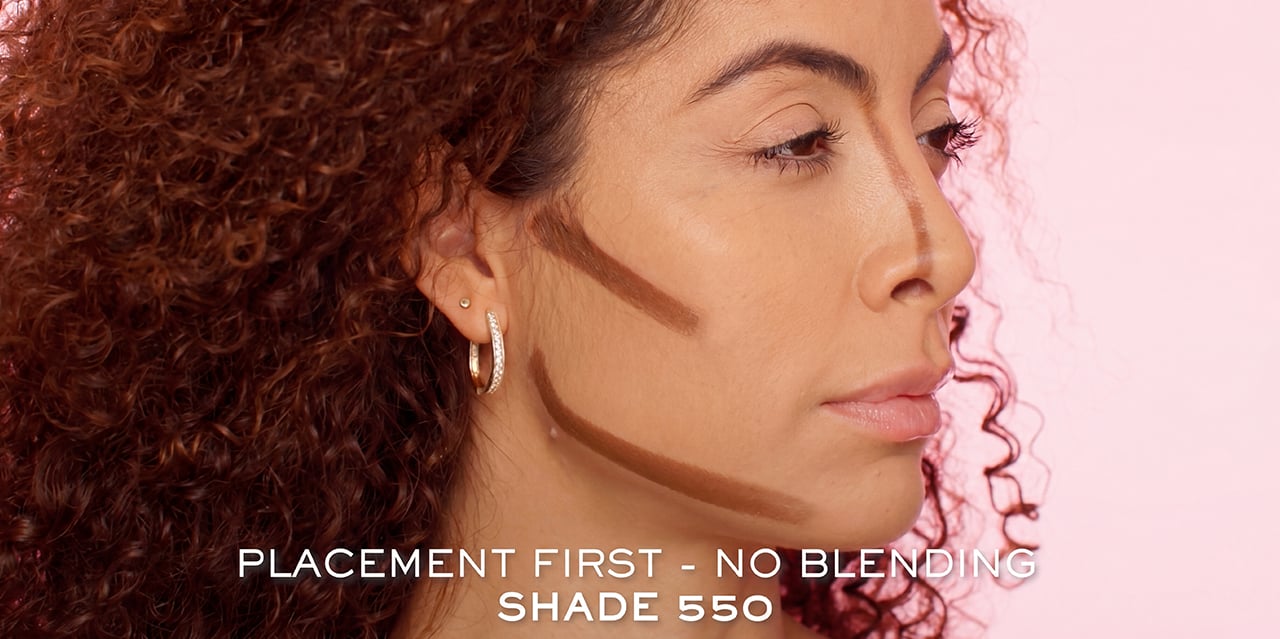
Cheek: Take your deep contour shade and draw a sharp line slightly above the cheek hollows, extending it slightly closer to the center of the face, but not past the pupil of your eye.
Jaw: Apply contour along and just under the jawbone for a redefined profile.
Nose: Draw two parallel lines down the bridge of the nose, connecting them up to the front of the brow bone.
Forehead: Apply contour around the temples and across the top of the forehead to frame the face. Like our model, diamond face shapes may not need this shading due to a naturally slimmer forehead.
Before blending out your contour, map out your highlights with a lighter contour or concealer. Apply this lighter shade to the outer corners of the eyes, under the eyes, down the center of your nose and up into the center of the forehead, and the middle of your chin.
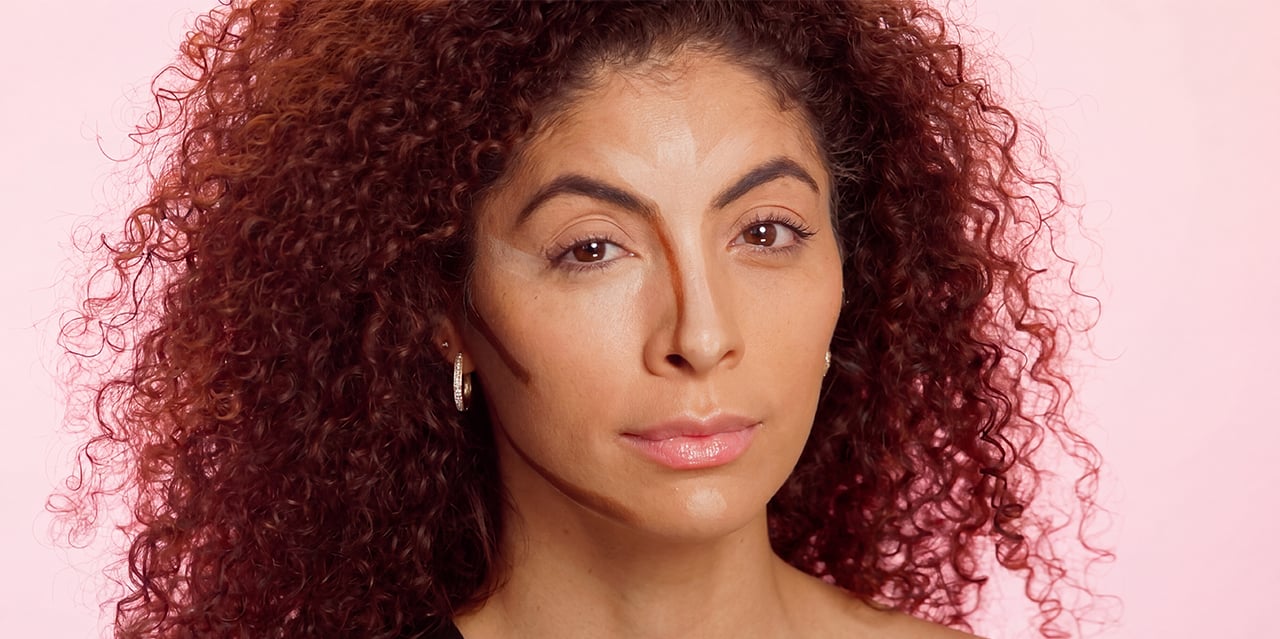
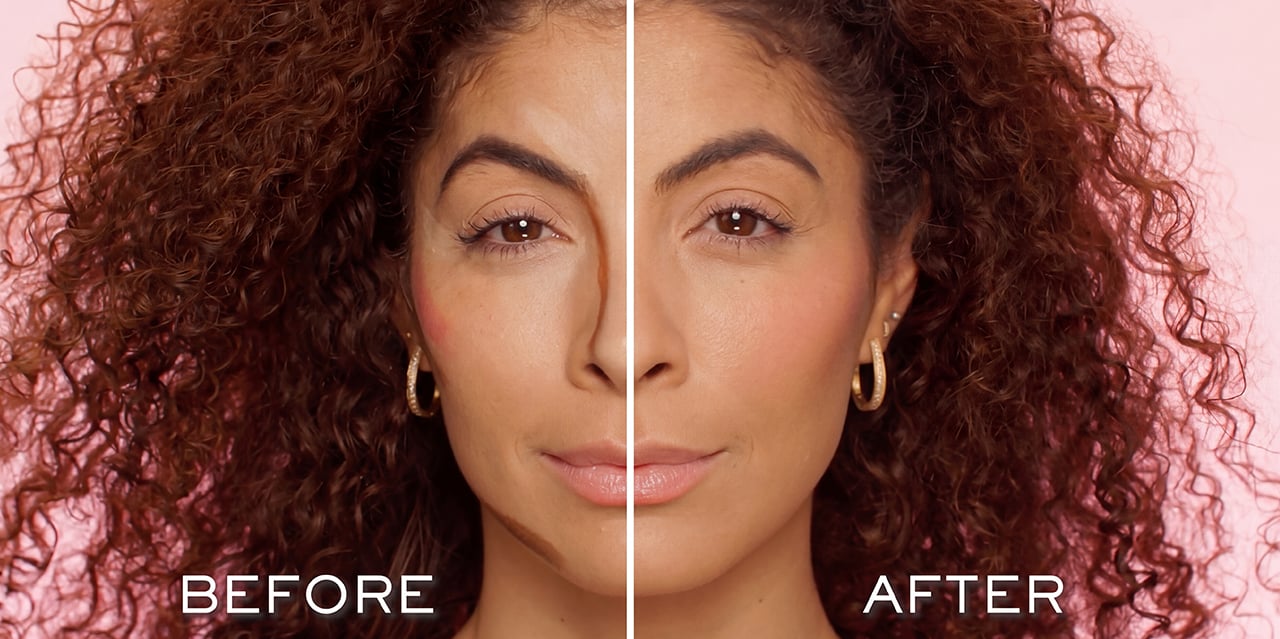
Blend everything out with a dense contour brush. Once blended, set those areas with a loose setting powder to help lock the creamy formulas in place (this also helps with oil control on oily skin). Dust off any excess. Use a fluffy brush to buff out the outer edges, so the transition is undetectable.
Contour Blending Checklist
Blending doesn’t have to feel scary, especially when you keep these Makeup Artist-approved tips in mind:
Natural Lighting Is Best
Always blend your makeup in natural light, if possible. What looks seamless in a warmly lit bathroom may look muddy or unblended in front of a window.
Blend Up and Out
Don’t blend your cheek contour downwards. Dragging dark pigments down will pull your features down with them, aging the face. Always blend up and out.
Use the Eraser Trick for Mistakes
When you’ve accidentally applied too much product or the edges look a bit muddy, don’t panic. Take the beauty sponge or foundation brush you used earlier and gently bounce or tap it along the edges of your contour. The leftover product will act like an eraser, seamlessly softening the lines.
